
Last updated October 30, 2026
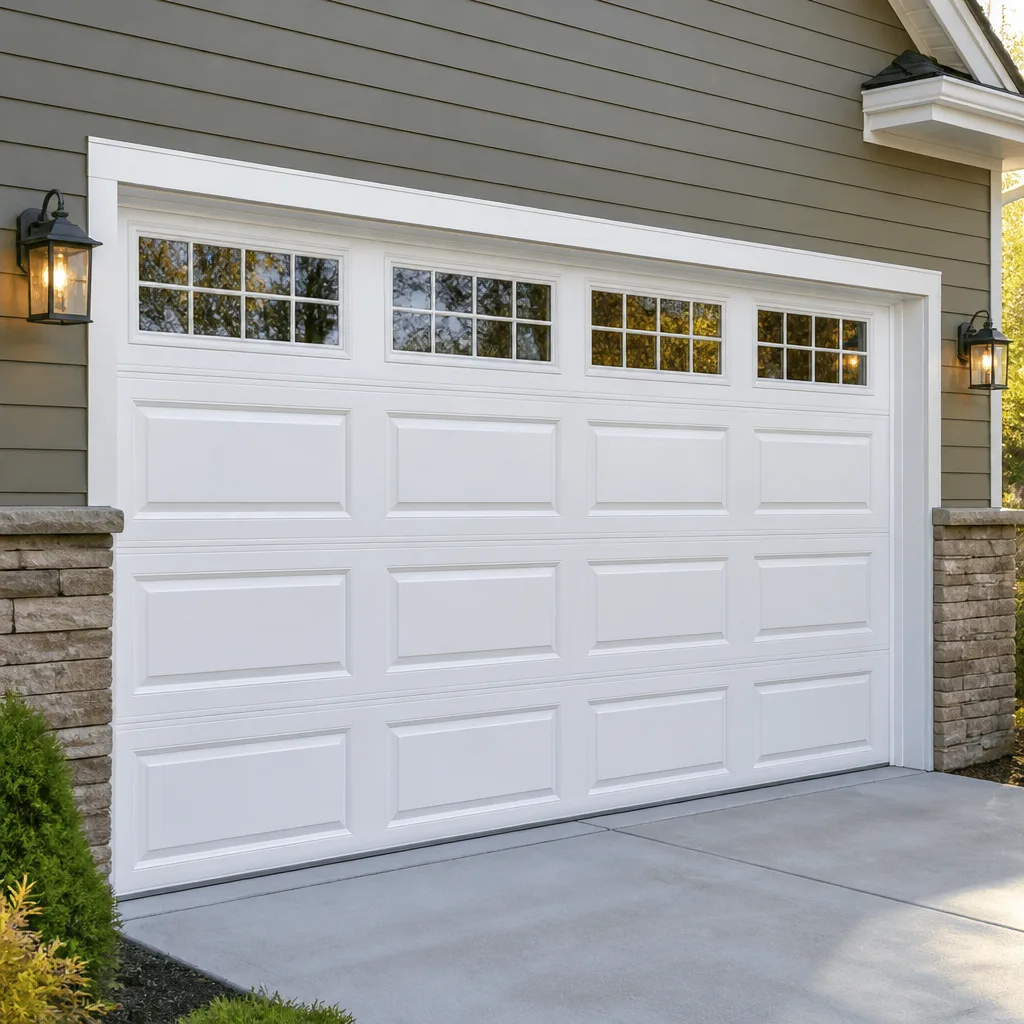 Raised-panel steel
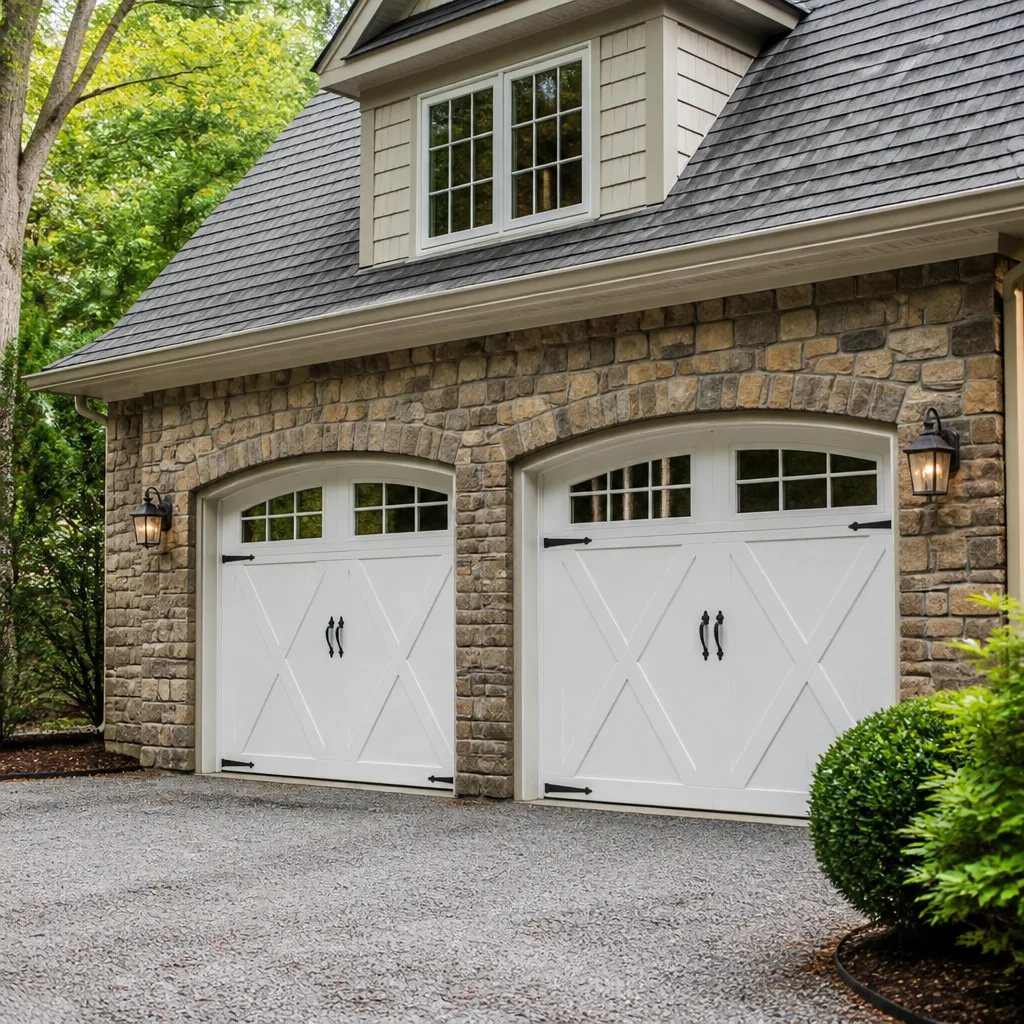 Carriage house
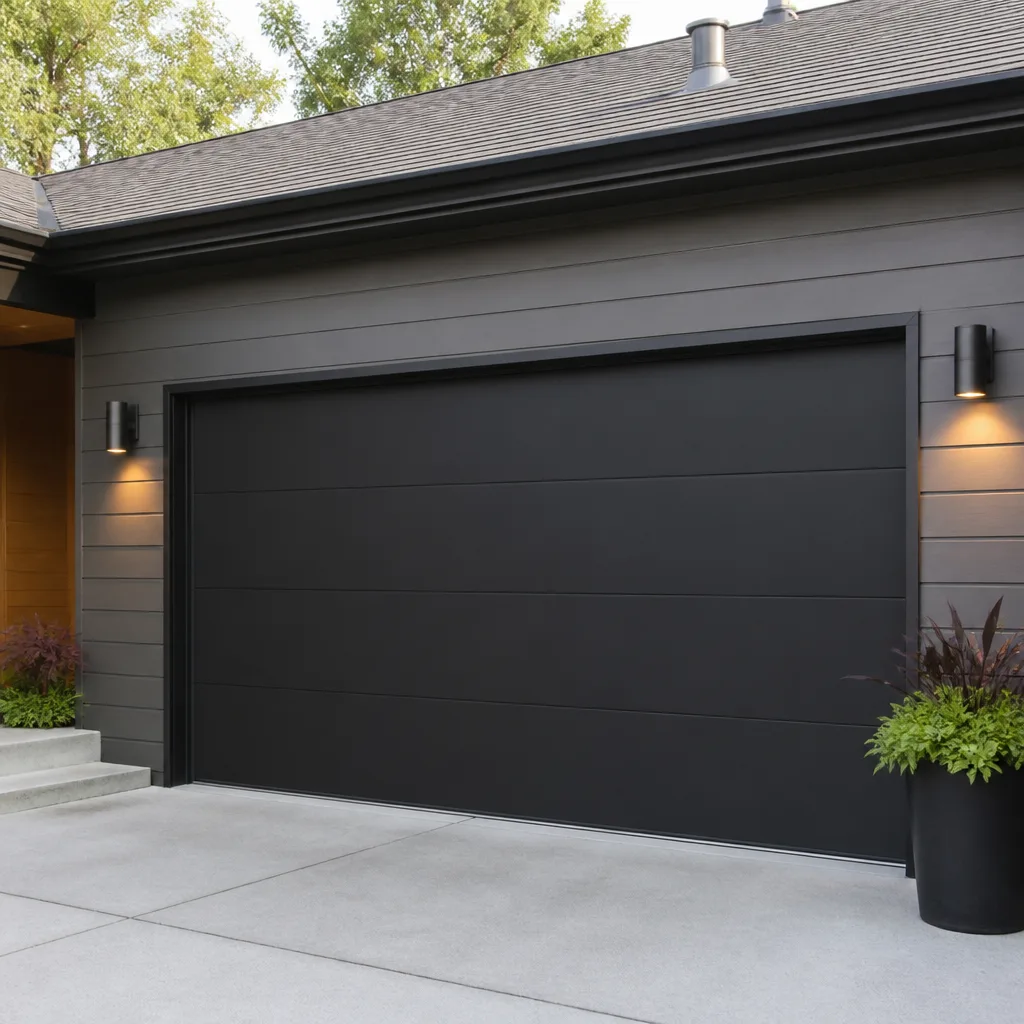 Modern flush
 Full-view glass
 LiftMaster openers
 Chamberlain openers
Full 25-point door and opener safety check with every visit - springs, cables, rollers, tracks, and your LiftMaster or Chamberlain opener included
You get a price before we start. It does not change when the truck arrives.
Get your free estimateGarage Door Repair Maintenance Checklist for Miami Beach Homeowners
The single most skipped maintenance task in coastal South Florida costs under five minutes and prevents the majority of premature spring and hinge failures we see in Miami Beach homes. Rinsing door hardware with fresh water after salt-air exposure events isn’t dramatic advice, but it’s the difference between a door that lasts 15 years and one that seizes up in six. The salt that hangs in the ocean breeze doesn’t just sit on surfaces. It bonds with humidity, works into steel springs, eats through zinc coating, and leaves a white crust inside tracks that grinds rollers down like sandpaper. Most Garage Door Repair Troubleshooting: Common Problems and How to Fix Them guides are written for places where winterizing matters and salt is something you sprinkle on ice. This one is built for Miami Beach specifically, because the wear patterns here are entirely different. You’ll learn what to do monthly, which lubricants actually survive a salt-air environment, how to inspect components most checklists don’t acknowledge exist, and when to put down the wrench and call someone who does this all day.
Quick Answer
Garage door maintenance in Miami Beach breaks down into three routines: a monthly 10-minute inspection of springs, cables, rollers, and tracks with a fresh-water rinse after heavy salt-air days; a pre-hurricane-season prep window in May that focuses on reinforcement, balance testing, and opener backup power; and a post-storm inspection in the fall to catch water intrusion, rust bloom, and alignment drift. The most important single habit is rinsing hardware with fresh water to strip salt residue before it corrodes moving parts. For anything involving torsion springs or cables under tension, stop and call our Garage Door Repair professionals at (855) 674-1679.
Styles & brands we work with
Table of Contents
- Monthly Maintenance Checklist for Salt-Air Exposure
- Which Lubricants Survive Miami Beach Salt and Humidity
- How to Inspect Miami-Dade NOA Hardware Retention Clips
- Maintenance Cadence by Door Material: Wood, Steel, Aluminum, Fiberglass
- Pre-Hurricane-Season Inspection: The May Window
- Post-Hurricane-Season Inspection: What to Check in October and November
- How to Test Door Balance and Why It Matters in a Coastal Climate
- Common Mistakes to Avoid
- When to Call a Professional
- Frequently Asked Questions
- The Bottom Line
Monthly Maintenance Checklist for Salt-Air Exposure
The routine that works for a garage door in Phoenix or Chicago does not translate to Miami Beach. Our technicians regularly replace springs that look structurally intact but snap under load because salt corrosion has wormed into the steel at a microscopic level. Humidity keeps surfaces damp, salt accelerates oxidation, and the result is hardware that fails from the inside out. The monthly checklist below is built around interrupting that cycle before it starts.
- Fresh-water rinse on hardware, not the door itself. Use a garden hose on a gentle setting to rinse the torsion springs, extension springs, cables, hinges, and roller stems. Do this after any stretch of onshore wind, after king tides, or after any day you can taste salt in the air. The goal is flushing dissolved salt before the water evaporates and leaves crystals behind. Keep water away from the opener motor and any exposed electrical connections.
- Visible rust check on spring coils. Look at the torsion spring above the door. Any brown discoloration, flaking, or pitted texture means the zinc coating has failed and corrosion is active. A rusted spring is a time bomb. It can snap without warning and the stored tension is enough to cause serious injury. If you see rust, don’t touch it. Call us for a garage door repair in Miami Beach assessment.
- Track alignment and debris. Run a finger along the vertical tracks (with the door closed) and check for grit, salt scale, or any visible gap where the track has pulled away from the wall. Salt scale builds up as a hard white deposit that rollers chatter over. Wipe tracks down with a damp cloth and dry them.
- Roller condition. Look at each roller where it meets the track. Nylon rollers with exposed bearings will show wear as a wobble or a flat spot. Steel rollers rust at the bearing and then grind. If you hear grinding during operation, the roller bearings are already compromised.
- Weather seal at the bottom of the door. The rubber or vinyl strip along the bottom edge keeps water, sand, and debris out. Check for cracks, brittleness, or gaps where you can see daylight. In Miami Beach, a failed bottom seal also lets humid air and salt drift into the garage constantly, which accelerates corrosion on everything stored inside.
- Hinge and bracket bolts. Tighten any loose bolts on hinges where panels connect. Salt air doesn’t loosen bolts by itself, but the constant micro-vibration of an opening door combined with expanding and contracting metal from temperature swings does. A loose hinge shifts the panel weight unevenly and strains the opener.
- Opener force and reversal test. Place a 2×4 flat on the ground under the door and close it. The door should reverse within a second of contact. This is a safety mechanism, not a convenience feature. Test it every month. If the door does not reverse, stop using the opener and call us.
These seven steps take about ten minutes. Most people skip the rinse because it seems pointless if the door is going to be covered in salt air again tomorrow. The point isn’t keeping the door clean. The point is removing the salt that would otherwise stay in place for weeks, mixing with humidity, and becoming an electrolyte bath that eats the metals. Five minutes with a hose is the cheapest insurance on this list.
Which Lubricants Survive Miami Beach Salt and Humidity
Generic garage door maintenance guides tell you to use a silicone spray or a lithium grease and leave it at that. In Miami Beach, the wrong lubricant actively makes corrosion worse. Some aerosol formulas are petroleum-based, which means they hold salt and grit against the metal instead of repelling it. We’ve opened spring installations in mid-beach condos where a homeowner diligently lubed every month with a bargain spray and still had a seized spring, because the lubricant itself captured salt crystals and turned into abrasive paste.
What works in a salt-air environment:
- White lithium grease (heavy applications only). Use it on spring coils and hinge pivot points. It stays put, does not run off, and forms a water-resistant barrier. Apply sparingly to avoid buildup that traps grit.
- Silicone spray with PTFE. Use it on tracks, roller stems, and the opener rail. It dries to a dry film, which means salt dust has nothing to stick to. Avoid silicone sprays labeled as “penetrating oils” which contain solvents that wash away.
- Corrosion-inhibitor sprays designed for marine environments. Products containing lanolin or a rust-preventive compound work well on torsion springs and cable coils. These are the same products boat owners use on deck hardware on Biscayne Bay.
What to avoid:
- WD-40 as a lubricant. It displaces water but it’s a solvent, not a long-term lubricant. It strips away existing grease and leaves metal bare, which in salt air means rust starts within days.
- Heavy axle grease. Tempting because it’s waterproof, but it attracts sand and salt dust, then holds both against moving surfaces. We’ve pulled grease-packed tracks filled with beach sand from homes near South Pointe.
- Anything with graphite. Graphite lubricants are conductive and accelerate galvanic corrosion between dissimilar metals, which is a specific problem on doors that mix steel hinges with aluminum panels.
Lubricate quarterly at minimum, monthly if your door faces the ocean or sits within a few blocks of the beach. Apply to spring coils, hinge pins, roller stems, and the opener rail. Wipe away excess. The goal is a visible film, not a wet coating.
How to Inspect Miami-Dade NOA Hardware Retention Clips
Here’s a component most generic maintenance checklists don’t acknowledge exists: Miami-Dade Notice of Acceptance (NOA) hardware retention clips. If your door was installed after Hurricane Andrew in 1992 and meets current wind-load requirements, the reinforcement system includes these clips. They are small L-shaped steel brackets that lock each roller into the track so the door can’t be blown inward or outward when wind pressure spikes during a storm. They sit at each roller position, bolted through the track and the roller stem housing.
Where to find them: open the door halfway and look at the vertical tracks. You’ll see a small metal bracket wrapped around each roller stem where it meets the track. Not every door has them. Older installations or builder-grade doors from before the modern code updates may rely on heavier track alone. But if your home has passed a wind mitigation inspection, chances are the retention clips are there.
What to inspect:
- Bolt tightness. The bolts that hold the clip to the track are the first thing to loosen after years of door cycling. Test each one with a socket wrench. If a clip is loose, the roller can drift laterally and bind against the track wall.
- Clip-to-roller clearance. The clip should hold the roller stem in position without touching the roller wheel itself. A clip that’s bent inward will rub against the wheel, causing friction, wear, and eventually a stuck door.
- Rust at the bolt point. The hole where the bolt passes through the track is the most vulnerable point for saltwater corrosion. Check for rust staining around the bolt head. If the track metal is thinning, the clip loses its anchor point and becomes decorative instead of protective.
- Alignment after any storm that rattled the door. High wind gusting against a closed door puts lateral force directly onto these clips. Knock each bolt with the flat of your hand. Movement, rattling, or a gap between the clip and track means it needs retightening.
- Full balance test without the opener. Pull the emergency release cord (usually a red handle hanging from the opener rail) and operate the door by hand. It should lift smoothly with about 10 to 15 pounds of effort, stay in place when half open, and not crash down when you let go. A door that won’t hold at half open is a spring problem, and hurricane season is the worst time to discover it.
- Check the backup battery on the opener. Most modern LiftMaster and Chamberlain openers have a battery backup unit mounted beside the motor. Press the test button. If it beeps but the motor doesn’t move, the battery is dead. After Hurricane Irma, we replaced dozens of dead backup batteries for Miami Beach homeowners who assumed the unit would work because the light came on. The light runs off the battery; the motor needs much more current.
- Verify all reinforcement struts are in place. Wind-rated doors have horizontal metal struts bolted across each panel on the inside. Look for missing bolts, cracked struts, or any panel that flexes when you press on it. A missing strut changes the wind-load capacity of the entire door system.
- Inspect side and top weather seals. The door should seal tightly against the jambs with no visible daylight gaps. Water intrusion during a hurricane doesn’t just come from flooding; driven rain finds every gap around the door. If you can see daylight, the seal is gone or compressed.
- Confirm the emergency release works. Pull the red cord and make sure it disengages the opener cleanly. If the door is heavy after release, don’t force it. A heavy door means a spring has failed or lost tension, and that door should not be opened manually during a storm.
- Track alignment after wind pressure. A door that took a direct hit or near miss may have shifted its tracks by a quarter inch, which is enough to cause grinding and roller wear. Close the door and watch the gap between the door edge and the track on both sides. It should be even from top to bottom.
- Water staining on panels. Especially on wood doors and steel doors with failing paint. Driven rain during a storm can force water into the bottom panel and wick upward. Look for discoloration, swelling, or bubbling under the paint.
- Rust bloom on springs and cables. After any storm with salt-driven spray from the ocean, give the spring assembly a close look. Salt that sat for days without being rinsed off will have started working. Early rust looks like a reddish-brown dusting. At this stage, it can still be removed and the spring protected with lubricant. If it’s progressed to flaking, the spring should be replaced.
- Opener operation under full weight. Run the opener through a full open-close cycle twice. Listen for strain, any change in pitch, or any hesitation. A door that was aligned before the storm and now labors halfway up has likely shifted slightly at the track-to-wall bracket.
- Bottom seal check. Storm surge, flooding, or even heavy runoff can compress or dislodge the bottom seal. If the seal is torn, crushed, or gapped, replace it before winter dry season lets sand and debris accumulate in the tracks.
- Close the door completely.
- Pull the red emergency release cord to disconnect the opener. The cord hangs from the opener rail and disengages the opener carriage from the door.
- Lift the door manually to chest height and let go.
- Observe what happens. The door should stay in place or drift only slightly. If it falls, the springs are under tension, meaning they’re weakening or broken. If it flies upward, the springs are over-tensioned.
- Lower the door back down. Reconnect the opener by pulling the release cord toward the door and running the opener until it clicks back into place.
These clips are a safety component. They exist to keep the door in place when the building envelope is under stress. If you find any structural issue with them, don’t improvise a fix. Call us for garage door opener repair in Miami Beach or a full door inspection. We’ll confirm whether your existing opener is still properly matched to the door’s wind-load rating, which is a mismatch we catch often in older homes.
Maintenance Cadence by Door Material: Wood, Steel, Aluminum, Fiberglass
Coastal humidity does not treat all garage door materials the same way. The maintenance schedule that keeps a steel door functional for a decade will destroy a wood door in half that time, and vice versa. Miami Beach has the added variable of salt deposition, which interacts with each material differently. Here’s the honest breakdown of what each door type needs and how often.
Steel Doors
Steel is the most common material we see in Miami Beach, and it’s also the most prone to visible rust. The painted or powder-coated finish protects the steel beneath until it doesn’t. Any scratch, chip, or rub point where the finish has worn through becomes an entry point for salt and humidity. Inspect the bottom edge of each panel, where the door meets the weather seal, and any area where the track hardware attaches. These are the typical wear points. Touch up exposed steel with a rust-inhibiting primer and paint immediately, even if the exposed spot is small. A steel door in Miami Beach with intact paint will last 15 to 20 years without panel replacement. One with a single untreated scratch will rust through that panel within five.
Cadence: monthly rinse, quarterly lube, annual touch-up inspection, and touch-up paint any time you see bare metal.
Aluminum Doors
Aluminum doesn’t rust the way steel does, but it corrodes differently. Salt air causes pitting and a white oxidation crust. On aluminum frame doors with glass inserts, the real maintenance issue is the frame itself. The anodized or painted finish wears thin at screw points and corner brackets. Once the finish fails, salt oxidation causes pitting that looks terrible and weakens the frame. Aluminum is also soft, which means panel dents happen more easily and the hinge screws back out over time. Check corner brackets monthly for looseness, and tighten hinge screws at the first sign of sag.
Cadence: monthly rinse, monthly bolt check, quarterly lube, annual inspection of frame joints.
Wood Doors
Wood garage doors are less common in Miami Beach than they were pre-1990, but they’re still out there, especially on older Mediterranean-revival homes in the North Beach and Flamingo Park neighborhoods. Wood absorbs moisture. That’s the fundamental issue. In Miami’s humid season, wood swells. In the drier winter months, it contracts. The cycle slowly pulls joints apart, cracks paint and sealant, and opens every edge to more moisture. A wood door in a coastal environment needs a full reseal every 12 to 18 months, not just a visual inspection. The bottom panel is the first to rot because it sits closest to wet concrete and catches splashback during heavy rain. Check for soft spots by pressing the wood gently with a flathead screwdriver along the bottom edge.
Cadence: monthly rinse of hardware only (keep water off the wood face), quarterly lube, biannual sealant inspection, full reseal annually.
Fiberglass Doors
Fiberglass is the most salt-resistant door material on the market, which makes it well-suited to Miami Beach. It doesn’t rust, doesn’t rot, and doesn’t absorb moisture. But fiberglass doors still have steel frames and steel hardware on the inside, and those components need the same monthly attention as a steel door. The fiberglass panel itself requires almost nothing. The metal end caps, hinges, and internal frame are where failures happen. Inspect the joint between the fiberglass skin and the metal end stile. Water can wick into that seam, sit against the internal frame, and rust it from the inside where you can’t see it until the panel sags.
Cadence: monthly rinse, quarterly lube, annual inspection of panel-to-stile joints.
Pre-Hurricane-Season Inspection: The May Window
Hurricane season officially starts June 1st. By early May, Miami Beach homeowners should do a specific set of inspections that are distinct from routine monthly maintenance. This is preparedness work, not wear-and-tear work. The goal is to confirm the door will hold through a storm and that the opener will work if the power fails.
We recommend doing this inspection in the first two weeks of May. It gives you three weeks to schedule a garage door installation in Miami Beach or repair before the season starts. May is shoulder season for us; June through August is when emergency calls spike, and scheduling gets tight.
Post-Hurricane-Season Inspection: What to Check in October and November
After hurricane season winds down in late November, it’s time for a different kind of inspection. This one is about damage recovery and water intrusion, not preparedness. Most issues after a storm are not dramatic. They’re subtle misalignments and moisture problems that compound over the following months.
October and November are the months we catch Garage Door Warning Signs: A Miami Beach Homeowner’s Reference Guide problems that weren’t apparent in the immediate recovery period after a storm. A door that works fine the week after a hurricane can start showing symptoms eight weeks later, after repeated cycles have worn a misaligned track into a bigger problem. Check it now, not at the first sign of trouble.
How to Test Door Balance and Why It Matters in a Coastal Climate
Door balance is the most important diagnostic test a homeowner can do without special tools, and it’s doubly important in Miami Beach because salt-accelerated spring fatigue happens faster here. The springs counterbalance the door’s weight. When they’re working correctly, the door feels nearly weightless. When they start failing, the opener has to work against gravity, which shortens the opener motor’s life and creates uneven wear across the whole system.
The test itself takes sixty seconds:
Perform this test quarterly. In coastal Miami Beach, springs fail faster than inland because salt corrosion eats the outer layer of the steel coil, which concentrates stress and causes premature fatigue. We have replaced torsion springs on doors installed less than four years prior in oceanfront properties on Collins Avenue. The owner never heard a snap because the spring didn’t break cleanly; it just lost tension gradually as coil after coil cracked. A balance test catches this before the opener burns out.
One caution: if you’re testing a door with extension springs (the long springs running along the horizontal tracks above the door), keep your hands and head clear of the spring path when the door is moving. These springs stretch in and out with the door, and a broken one can release stored energy violently. If you suspect any spring damage from a balance test, put the door down gently and call a professional at (855) 674-1679.
Common Mistakes to Avoid
- Using penetrating oil as a lubricant. WD-40 and similar sprays displace water and dissolve old grease, but they don’t leave a protective film. On a Miami Beach door, using penetrating oil on springs means bare metal within a week and rust within a month. Use white lithium grease on springs instead.
- Ignoring the bottom seal. A cracked or displaced bottom seal lets humid salt air into the garage 24 hours a day, turning every metal tool and surface inside into a corrosion experiment. Replace the seal when you first see cracks, not when it falls off.
- Skipping the fresh-water rinse because it “feels pointless.” It feels pointless because the door is clean. But the point isn’t cleaning. The point is removing salt that would otherwise sit on metal for weeks and electrochemically eat the coating off. Rinse after salt-air events.
- Forcing a door that won’t open. If the door refuses to move, either the spring is bound, a cable has jumped off its drum, or the opener is fighting a mechanical failure. Forcing it makes the problem worse and can cause cables to snap under load. Stop and call.
- Lubricating before cleaning. Applying fresh lubricant over salt dust and grime just traps debris in the lube and grinds it into the metal. Wipe or rinse the part first, then lubricate.
- Testing hurricane readiness in August. If the pre-hurricane inspection reveals a worn spring or dead backup battery in August, you’re now competing with every other homeowner for emergency service in the worst possible window. Do the inspection in May.
- Assuming a wind-rated door requires no maintenance. NOA-rated doors are built to withstand wind pressure, but they rely on hardware that still corrodes and loosens. A wind rating doesn’t mean the retention clips and struts are permanently maintenance-free.
When to Call a Professional
Some maintenance tasks belong to you: rinsing, wiping, checking for rust, testing balance. Some belong to a trained technician with the right tools and experience. Torsion springs are the obvious one. These springs are wound under enormous tension, and a misstep during adjustment or replacement can cause severe injury. If you see rust bloom, loose spring coils, or a door that fails the balance test, don’t touch the spring assembly. Cables are the same story. A frayed cable that snaps under load can whip back with enough force to break bone. Other professional-warranted situations: bent tracks from an impact, an opener that grinds or sparks, any electrical issue with the motor or wiring, or a panel replacement that requires matching an existing door’s dimensions and wind rating. In all these cases, Bayside Garage Door Repair offers free estimates in Miami Beach. Call (855) 674-1679 and we’ll tell you what’s wrong, what it’ll cost, and whether it’s actually worth fixing.
Twenty percent of the time, the answer is that a simple adjustment costs a fraction of what the homeowner assumed. That’s the value of a diagnosis-first approach. We work with the brand you already have, whether it’s a Raynor steel door, a LiftMaster opener, a Genie from the 2000s, or a Chamberlain smart system. No push toward a replacement unless the existing equipment is genuinely beyond saving.
Frequently Asked Questions
Monthly for the salt-air rinse and visual inspection, quarterly for lubrication and balance testing, and annually for a complete inspection before hurricane season. Homes within two blocks of the ocean should increase lubrication to monthly during the wet season from June through November.
If you do the monthly rinse and inspection yourself, ongoing maintenance costs less than $20 a year for lubricant and the occasional replacement weather seal. Professional tune-up inspections vary by company and scope, but a typical inspection runs under $200. Call (855) 674-1679 for a free estimate on our full inspection.
Yes. Salt corrosion on the spring coil creates tiny pits and scratches in the steel surface, which become stress concentration points when the spring twists under load. Over time, those points begin to crack, eventually causing the spring to fail without warning. This process happens years faster in Miami Beach than inland because of the constant salt deposition.
Fiberglass and aluminum perform best in direct salt-air exposure because neither material rusts. Steel is fine with proper maintenance, but it requires consistent paint touch-ups and rinsing. Wood is the highest-maintenance material and should be avoided on direct oceanfront property unless you’re committed to annual resealing.
Yes. A hurricane-rated (NOA) door has wind-load capacity built into the panels and hardware, but that rating depends on all components being in working order. Missing struts, loose retention clips, or a failed spring reduce the door’s effective wind resistance regardless of the original rating. Test it before every season.
The primary warning signs are visible rust, visible gaps between coil windings, a door that feels heavier than it used to when operated manually, or a door that fails the half-open balance test. Any of these means the spring is losing tension or structural integrity. Call (855) 674-1679 and we’ll inspect the springs, cables, and the door’s overall condition.
The Bottom Line
Garage door maintenance in Miami Beach is a fundamentally different discipline than anywhere else in the country. The same salt that makes the city beautiful eats metal relentlessly, and humidity supercharges the process. The monthly rinse, the quarterly balance test, the May hurricane-prep window, and the October post-storm inspection aren’t busywork. They’re a system designed around the way this city’s climate actually wears on moving parts. Do these tasks consistently and your door will last 15 to 20 years. Skip them and you’ll be replacing hardware that should have had another decade in it. When you need help, from a single spring to a full Bayside Garage Door Repair home inspection, we’re a phone call away. Garage doors are all we do. That focus means we’ve seen every failure mode this salt air can produce, and we know exactly how to fix them.
Written by the team at Bayside Garage Door Repair, serving Miami Beach since 2014. Explore more guides & resources.
See the difference
 Before
 After
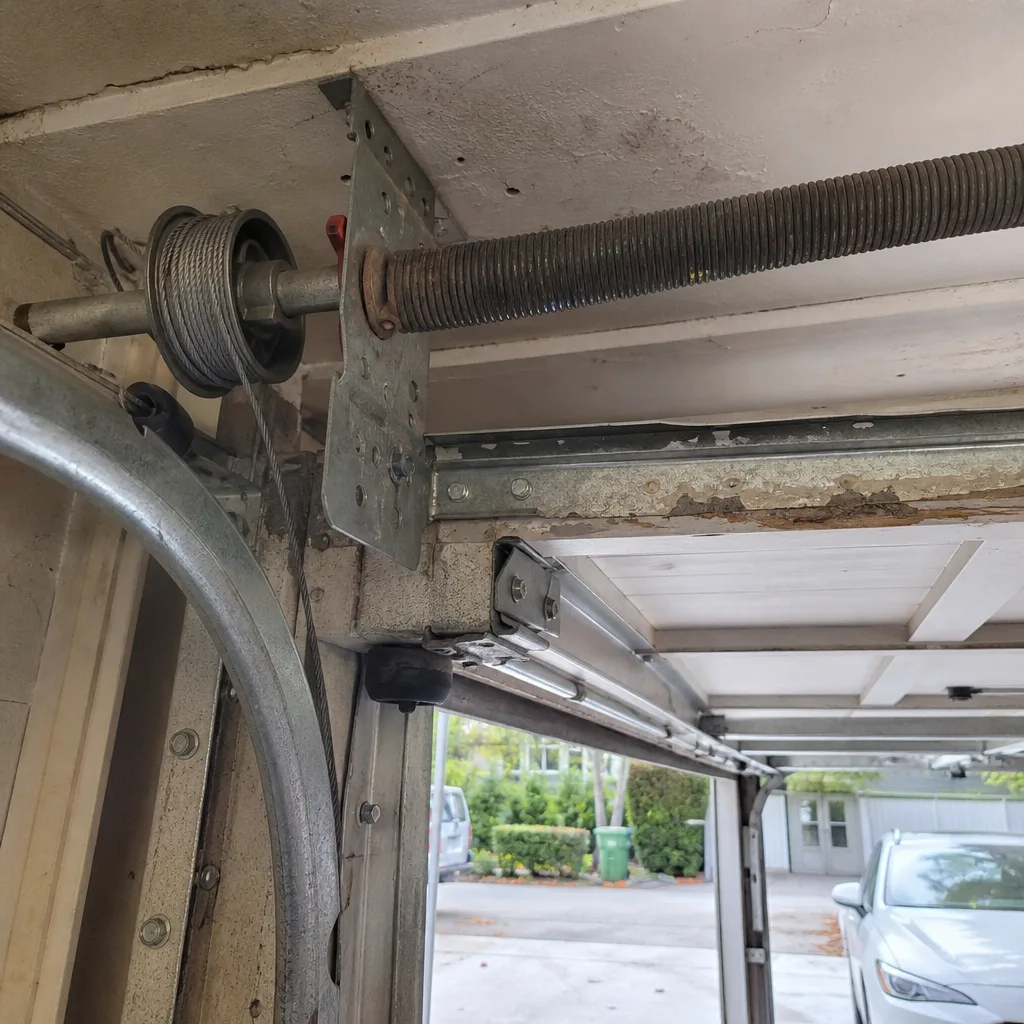 Before
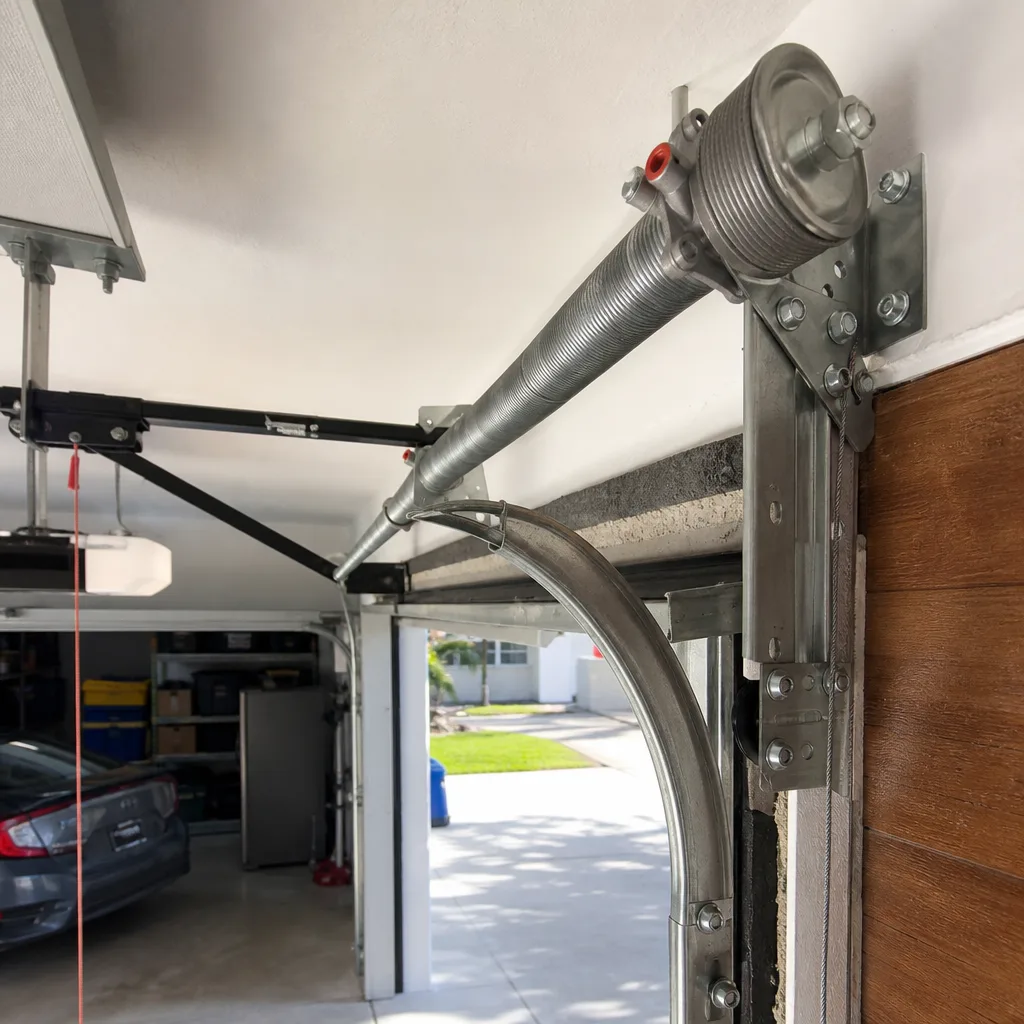 After
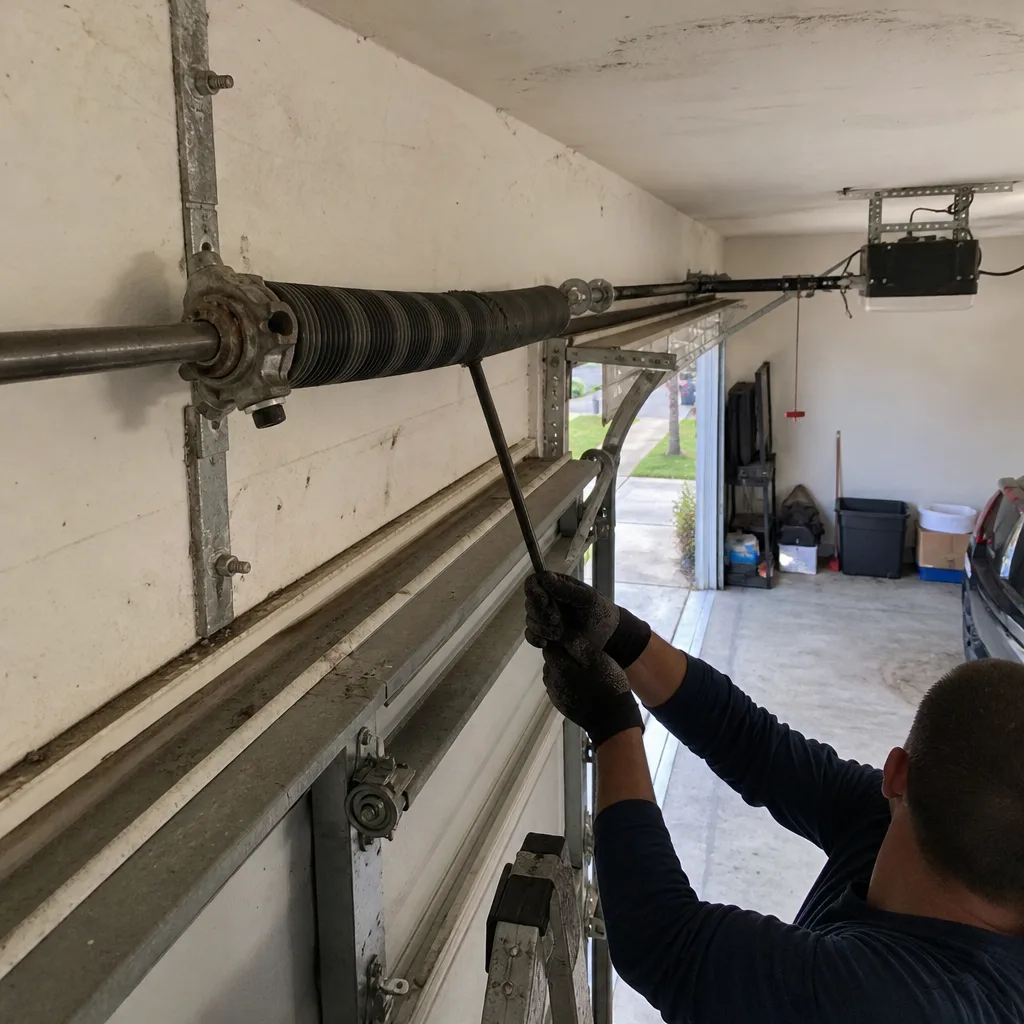 Before
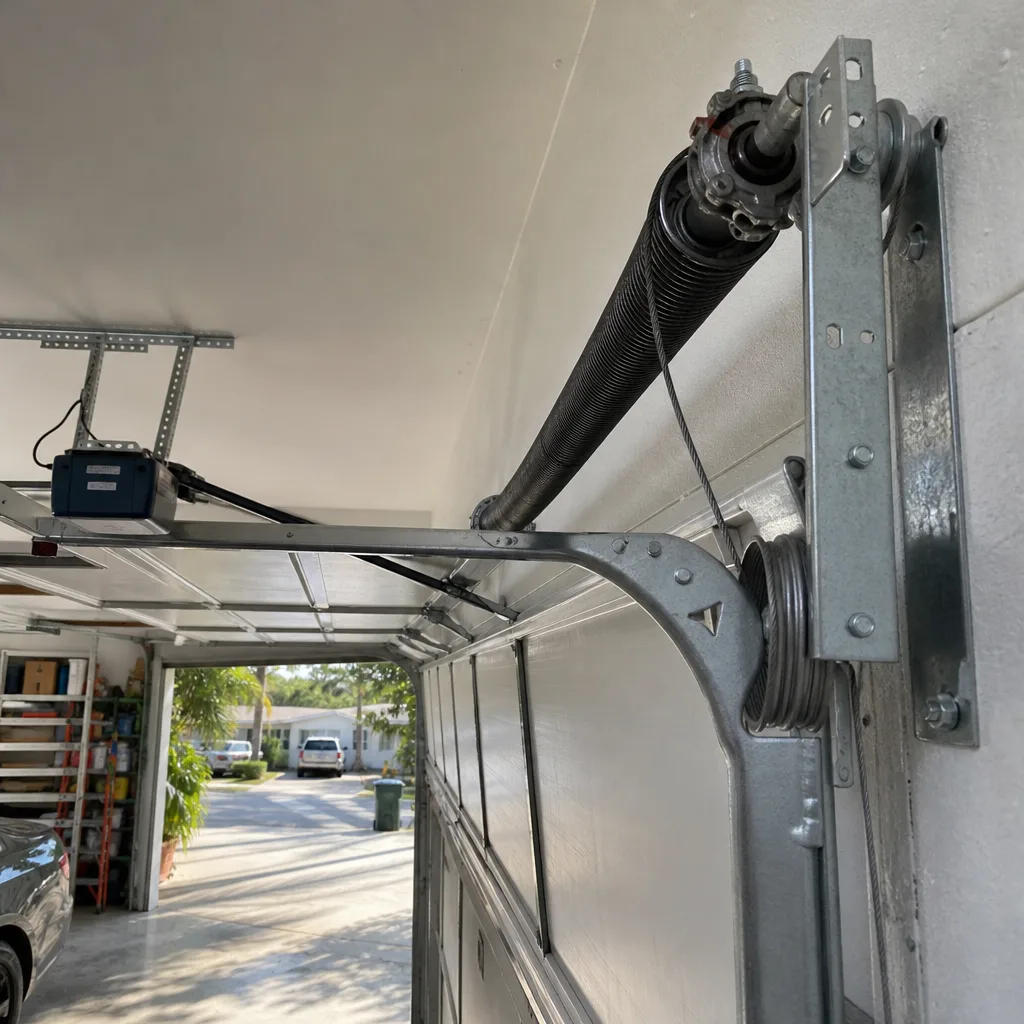 After