

Last updated October 30, 2026
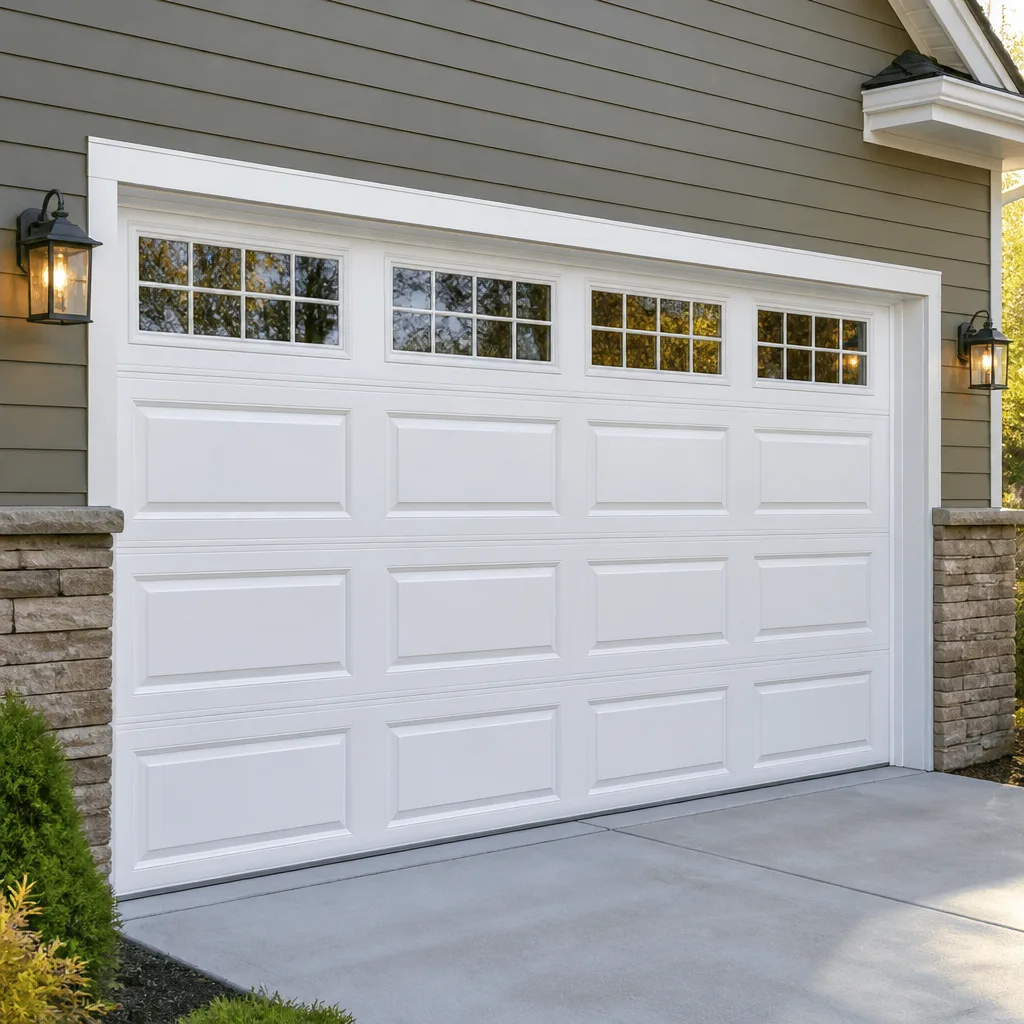 Raised-panel steel
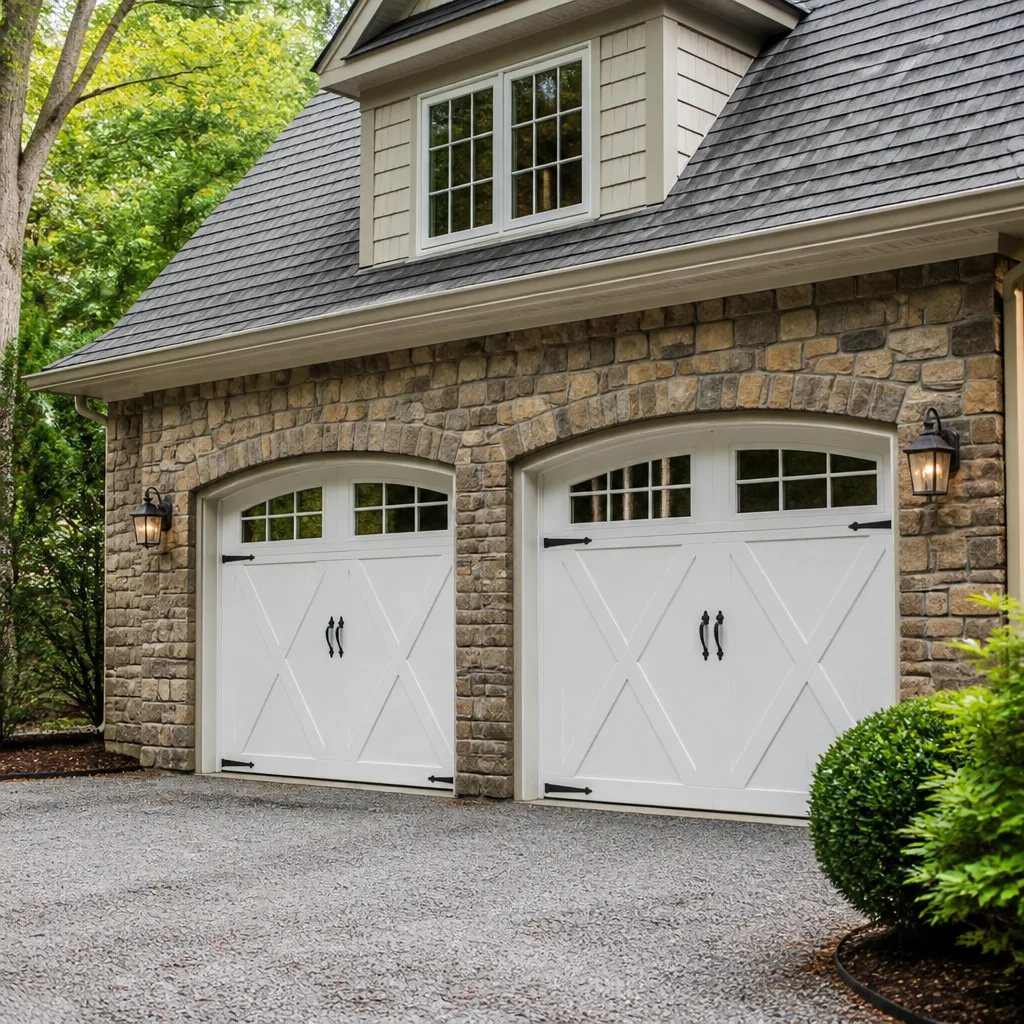 Carriage house
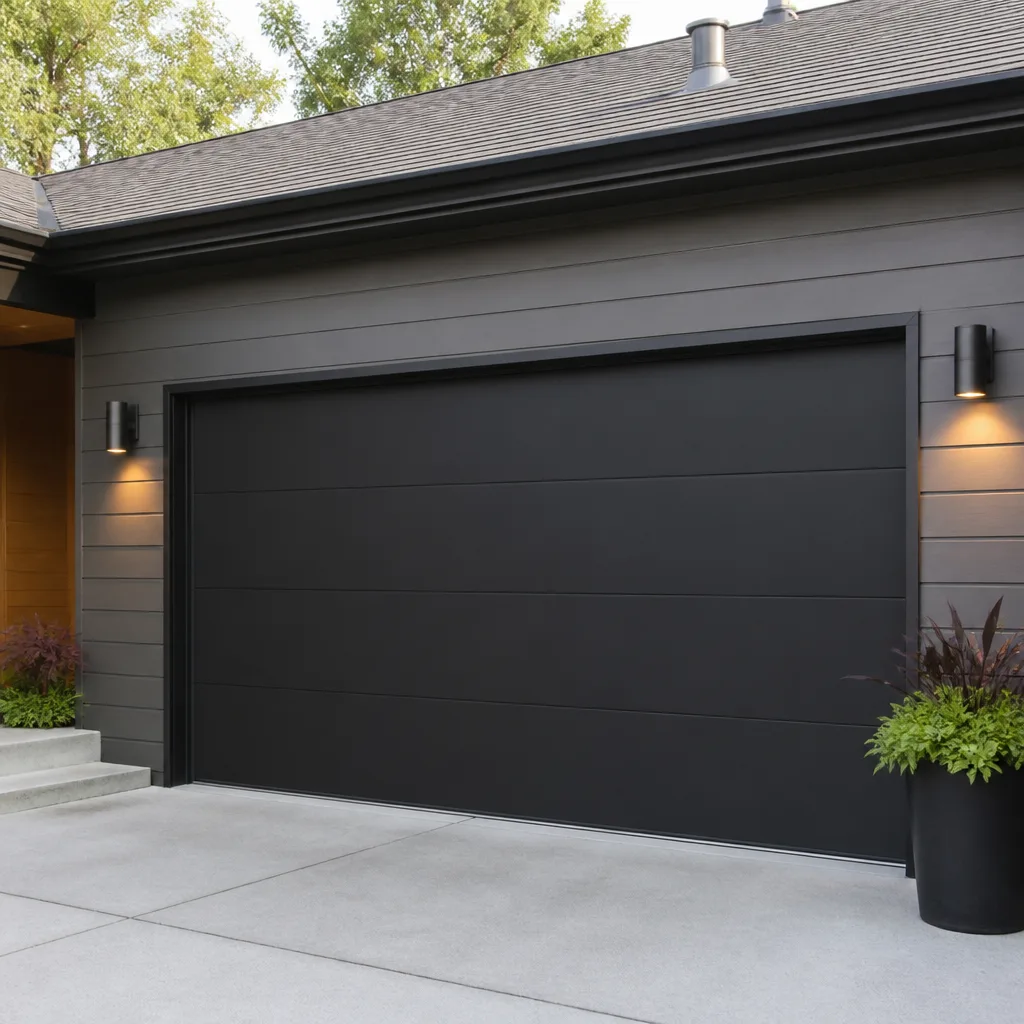 Modern flush
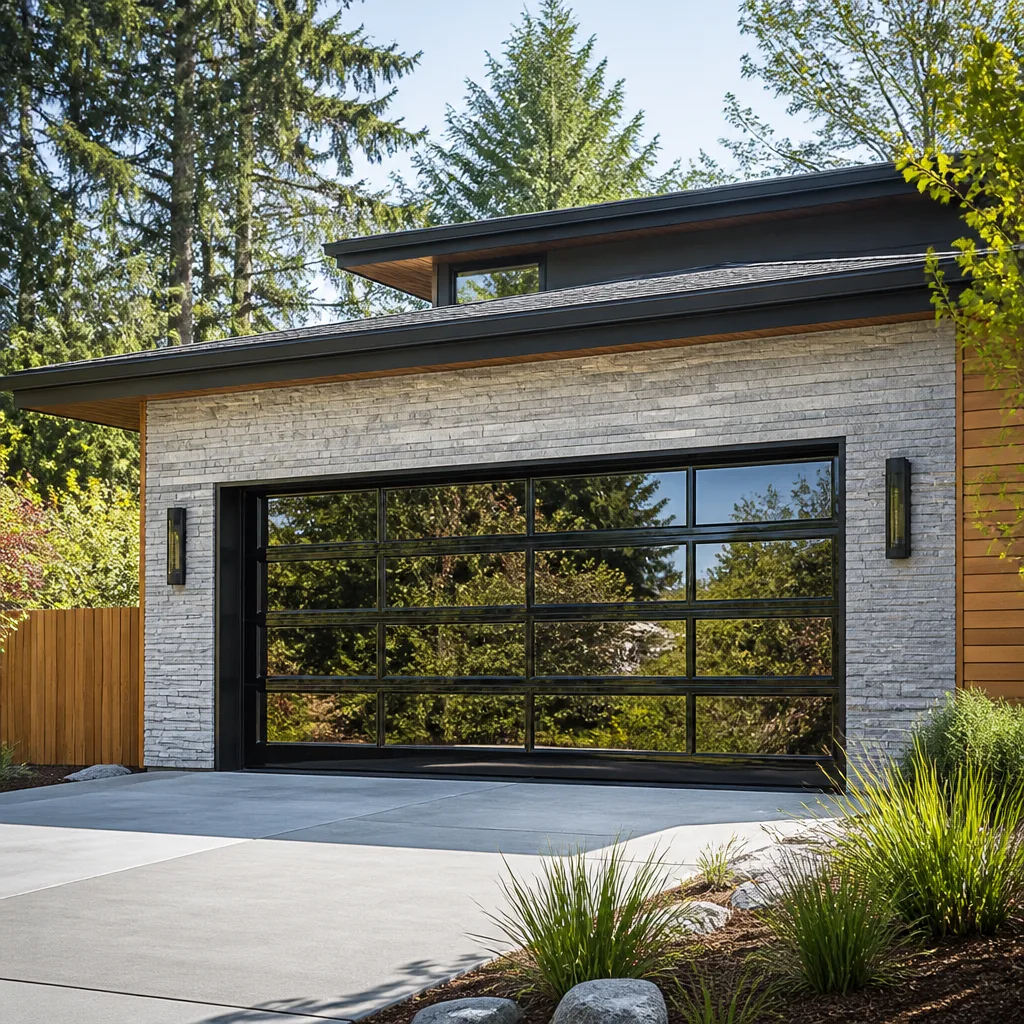 Full-view glass
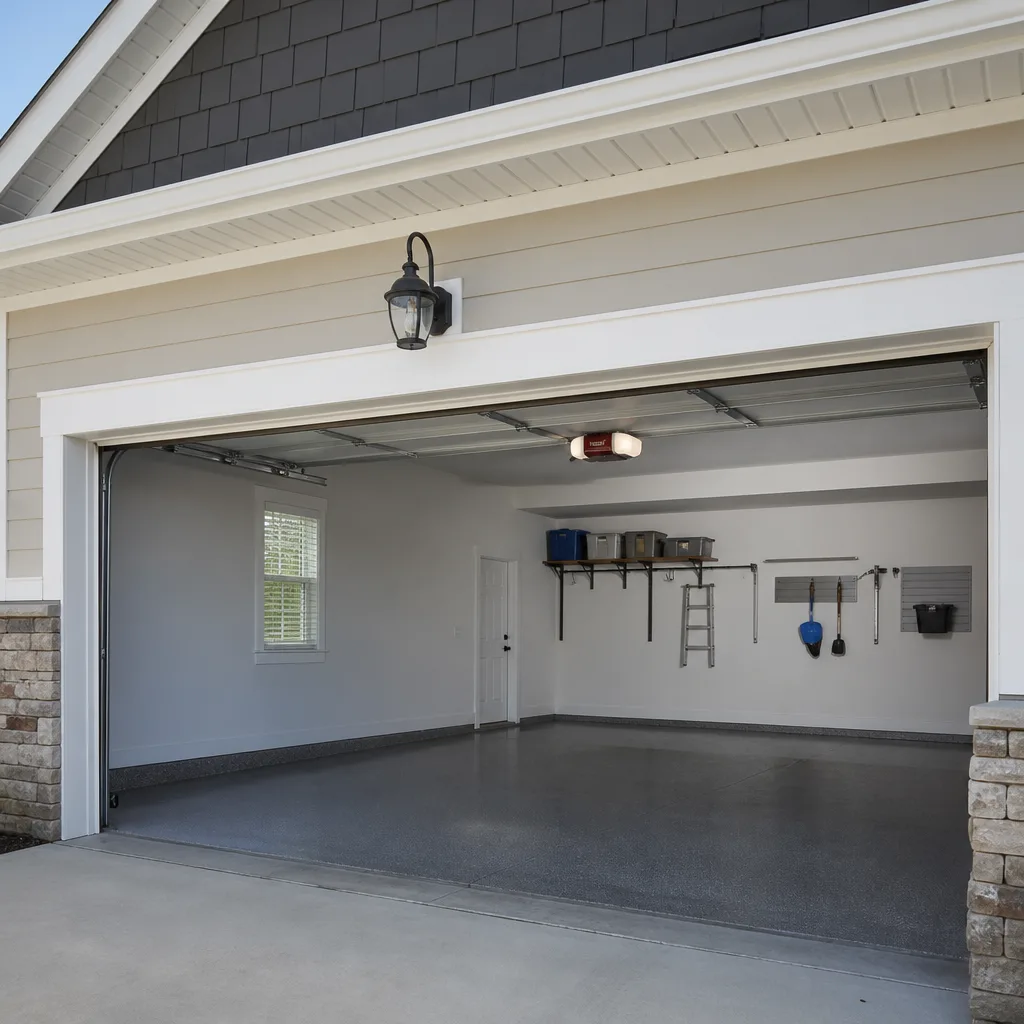 LiftMaster openers
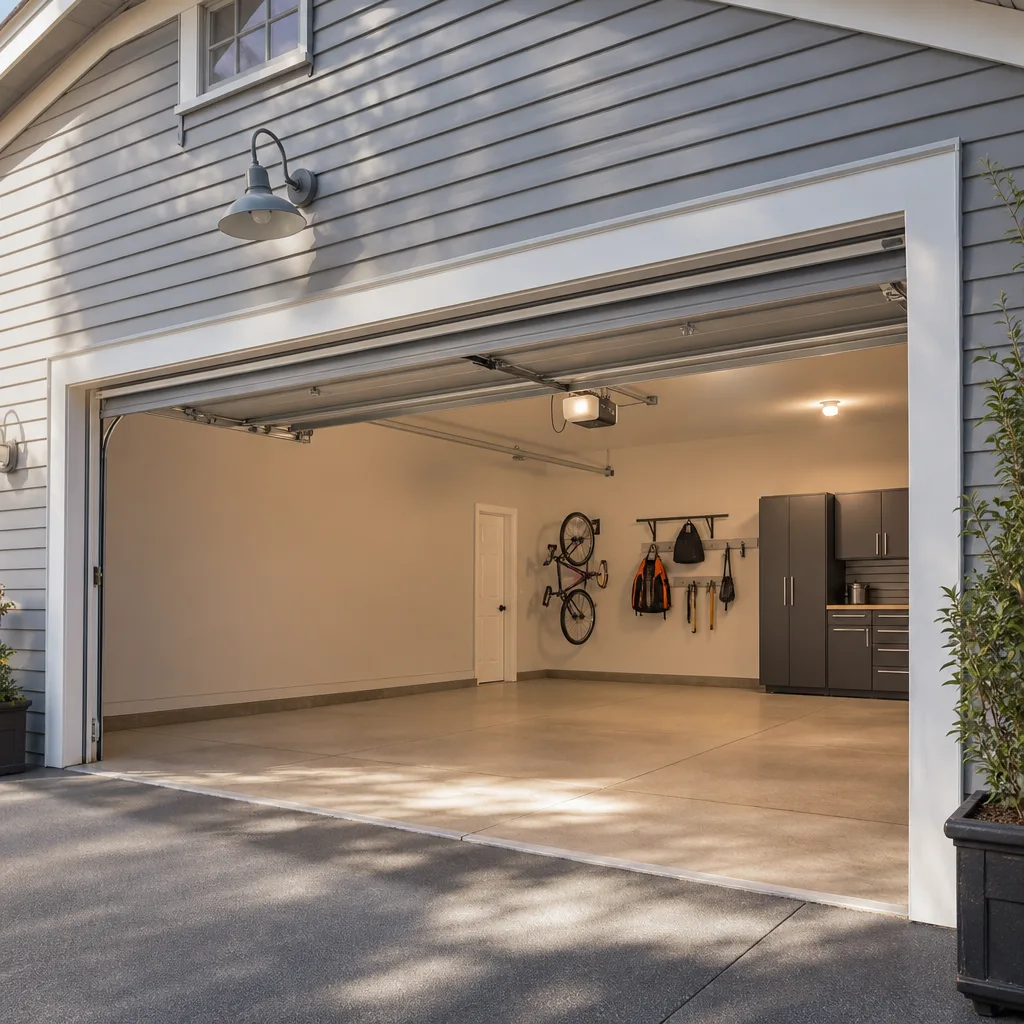 Chamberlain openers
Full 25-point door and opener safety check with every visit - springs, cables, rollers, tracks, and your LiftMaster or Chamberlain opener included
You get a price before we start. It does not change when the truck arrives.
Get your free estimateGarage Door Repair Troubleshooting: Common Problems and How to Fix Them
Most garage door repair bills in Miami Beach get inflated by a single avoidable mistake: the first part replaced wasn’t the part that failed. A door that refuses to close gets a new sensor set when the real culprit is a stripped gear inside the opener. A grinding door gets fresh rollers when the spring has lost tension. The industry term for this is misdiagnosis, and it happens because most troubleshooting advice starts with the symptom instead of the system. This guide works backward from root cause to symptom, so you can stop replacing parts that were never broken, speak the same language as a technician, and know precisely when a problem is safe to fix yourself versus when it needs our Garage Door Repair services from a specialist who works on every major brand, not just one.
Styles & brands we work with
Quick Answer
Garage door troubleshooting starts with identifying which of two systems has failed: the door itself (springs, cables, rollers, tracks, panels) or the opener (motor, logic board, sensors, limit switches, remote signal). In Miami Beach, the most common failure points we see are sensor misalignment from humidity-driven door frame shifts, spring fatigue accelerated by salt air, and opener gear wear from daily cycling. Most mechanical problems involving springs or cables require a trained technician, while sensor realignment and remote reprogramming are safe DIY fixes.
Table of Contents
- The Symptom-to-System Diagnostic Map
- Opener Problems vs. Door Mechanical Problems: The Split That Saves You Money
- LiftMaster, Chamberlain, and Craftsman Error Codes: What They Actually Mean
- Safety Checks Before You Touch Anything
- Common Symptoms and the Root Cause Behind Each
- Why Miami Beach Climate Accelerates Certain Failures
- How to Describe the Problem to a Technician So You Get an Accurate Quote
- What’s Safe to Fix Yourself and What Isn’t
- Common Mistakes to Avoid
- When to Call a Professional
- Frequently Asked Questions
- The Bottom Line
The Symptom-to-System Diagnostic Map
Every garage door failure traces back to one of four subsystems: the counterbalance (springs and cables), the travel path (tracks and rollers), the electrical drive (opener motor and logic board), or the safety layer (sensors and auto-reverse). The trick is knowing which system owns which symptom before you open a single panel. Here’s the map we use on every service call in Miami Beach, from North Beach to South of Fifth:
- Door won’t open at all, no motor sound: Opener electrical issue. Check the outlet, the GFCI reset button, and the opener’s power cord first. If power is confirmed, the logic board or receiver likely failed.
- Door won’t open, motor hums: This is almost always a broken spring or a stripped drive gear. The motor is trying, but the lifting force isn’t there.
- Door opens partially then stops: Spring tension is insufficient, or a roller is binding in the track. In Miami Beach, corroded roller bearings are common near the water.
- Door closes then immediately reverses: Sensor misalignment or obstruction. Less commonly, a limit switch issue on the opener.
- Door closes, then bounces back up: This is a limit switch problem, not a sensor problem. The opener thinks the door hasn’t reached the closed position.
- Door grinds during operation: Roller wear or a track obstruction. If the grinding is rhythmic, it’s a single roller. If constant, inspect the drive rail on opener models.
- Door shakes or shimmies: Loose hardware, bent track, or a door panel that’s slipping out of its hinges. Salt air in Miami Beach corrodes hinge bolts faster than inland locations.
Start with this map before reaching for a screwdriver. It routes you to the correct system in under a minute and prevents the kind of wrong-part replacement that turns a $150 repair into a $600 one. Our Garage Door Repair in Miami Beach service follows the same diagnostic sequence on every visit.
Opener Problems vs. Door Mechanical Problems: The Split That Saves You Money
The single most useful skill in garage door troubleshooting is separating opener failures from door failures. These two systems get conflated constantly, and mixing them up leads to replacing a perfectly good opener when the door itself was the problem, or vice versa. In our experience working with LiftMaster, Chamberlain, Genie, and Craftsman systems across Miami Beach, roughly 40% of service calls billed as “opener replacement” by other companies turn out to be door mechanical issues that didn’t require a new opener at all.
Here’s how to tell them apart in under 30 seconds:
- Pull the emergency release cord. This red cord hangs from the opener rail and disconnects the door from the opener entirely.
- Try to lift the door by hand. It should move smoothly with moderate effort, roughly 10-15 pounds of resistance.
- Read the result. If the door is heavy, jerky, or won’t stay up on its own, you have a door problem: springs, cables, or rollers. If the door moves smoothly by hand but won’t function with the opener, you have an opener problem.
This test takes seconds and tells you which specialist to call. It also prevents a common scenario we see in Miami Beach high-rises and older homes: a homeowner pays for a new opener when a stretched spring was the only issue. Opens with Wayne Dalton and Raynor doors are especially prone to this misdiagnosis because their spring systems look different from other brands, and unfamiliar technicians sometimes blame the opener by default. If your opener is the confirmed problem, our Garage Door Opener Repair in Miami Beach service handles everything from the motor to the logic board without steering you toward a full opener swap unless it’s genuinely warranted.
LiftMaster, Chamberlain, and Craftsman Error Codes: What They Actually Mean
LiftMaster, Chamberlain, and Craftsman openers share a common manufacturing lineage, which means they display the same diagnostic codes. If your opener has a learn button and arrow buttons, it can flash a two-digit code that tells you exactly what’s wrong. Here are the three we see most often in Miami Beach garages, and what each one means before you call anyone:
1-1: “The opener isn’t receiving a signal”
This code flashes when the remote or wall button signal isn’t reaching the logic board. In Miami Beach, we see this frequently in buildings with dense Wi-Fi traffic, which can interfere with older radio frequency remotes. Before assuming the logic board is dead, try the wall button. If the wall button works but the remote doesn’t, replace the remote battery or reprogram it. If neither works, the receiver on the logic board has likely failed.
1-5: “The door is obstructed or the sensors are misaligned”
This is the sensor code. It means the opener’s safety system detected something in the door’s path or lost alignment between the two sensor eyes. In Miami Beach, humidity regularly causes wooden door frames to swell, shifting sensor brackets slightly out of alignment. Green light means the sensor is receiving; amber light means it’s transmitting. If one light is off or blinking, realign the sensors before replacing them.
2-1: “The travel limits are out of range”
This code indicates the opener lost track of where the door should stop at the top and bottom of its travel. It shows up after power outages, which Miami Beach gets frequently during storm season. The fix is usually a limit reprogram, not a part replacement. If the code persists after reprogramming, the travel module on the logic board may need replacing.
These codes exist so homeowners can check the basics before paying for a service call. If you’re seeing a code that isn’t listed here, note the exact number before calling a technician. It saves a diagnostic cycle and helps us tell you over the phone whether the issue is likely a quick fix or a deeper problem.
Safety Checks Before You Touch Anything
Before any repair attempt, complete these three checks. They take under a minute and they’ll tell you whether the problem is in your territory or a technician’s.
- Pull the emergency release cord with the door closed. If the door is up when a spring breaks, pulling the release can send the door crashing down. This is a serious injury risk. Only test the emergency release when the door is on the ground, blocked, or wedged securely in place.
- Check the photo-eye sensors. Both sensor eyes should have a solid LED: green on the receiving eye, amber on the transmitting eye. If one is off or blinking, realign them gently. This is safe DIY territory.
- Inspect the springs visually, but never touch them. Look at the torsion springs above the door. If you see a visible gap, usually about 2 inches, the spring is broken. Do not attempt to remove, adjust, or replace torsion springs yourself. These springs hold hundreds of pounds of stored tension, and a release while you’re working on them can be fatal. Same rule applies to the extension springs on the sides of some older doors. This is technician-only work, no exceptions.
In Miami Beach, we also recommend checking for rust on the bottom roller brackets and hinge bolts. Salt air corrodes metal surprisingly fast, and a corroded bolt can snap without warning while the door is in motion. If you see heavy rust on load-bearing hardware, that’s a call-to-a-professional situation, not a DIY one.
Common Symptoms and the Root Cause Behind Each
Now we’ll walk through the six garage door failures homeowners report most often in Miami Beach, and the root cause behind each one. For additional context, see our Garage Door Warning Signs: A Miami Beach Homeowner’s Reference Guide. Notice how often the obvious culprit isn’t the real culprit.
Door won’t open and the motor doesn’t make a sound
The root cause is almost always electrical, but not where most people look first. Check the GFCI outlet the opener plugs into. Miami Beach homes, especially older ones, have GFCI outlets in the garage that trip during humidity spikes or minor power fluctuations. Press the reset button on the outlet itself. If that doesn’t work, check the breaker. If both pass, the logic board or the opener’s internal transformer has failed. This is a common failure on older Craftsman and Chamberlain units, and it’s repairable without replacing the entire opener.
Door won’t open but the motor hums
This is the signature of a broken torsion spring. The opener motor is running, the drive gear is engaged, but the spring that counterbalances the door’s weight has snapped. It happens without warning, and in Miami Beach it happens more frequently than inland because salt air accelerates the micro-fractures that eventually cause spring failure. A door with a broken spring will not open by hand, either. This requires a technician. Never attempt to lift the door with a broken spring using the opener, as the uneven load can damage the opener’s drive gear on top of the spring repair.
Door reverses immediately after touching the floor
The sensors are the first suspect, but not the only one. If you see the sensor lights on and aligned, the problem may be the door’s limit settings. The opener thinks the door hasn’t closed far enough, so it reverses to protect against an imaginary obstruction. This happens after power outages knock the limit settings out of memory. On LiftMaster and Chamberlain openers, the fix is a quick reprogram. If the limit is set correctly and the door still reverses, check for a bent track or a roller that’s binding near the bottom of the travel path.
Door grinds or makes a metal-on-metal scraping sound
Rollers wear out. The ball bearings inside them eventually seize, and the roller starts scraping against the track instead of rolling. Miami Beach’s salt air accelerates this, especially on older steel rollers. If the grinding is a steady scrape, it’s usually a roller. If it’s a stutter or a clunk at a specific point in the travel, it’s likely a bent track or a loose hinge. We also see drive-rail wear on older screw-drive Genie and Chamberlain openers. A light coating of the correct lubricant on the rail resolves that; the wrong lubricant attracts salt and grit and makes it worse.
Door shakes or wobbles while moving
This is a mechanical problem, not an opener problem. The most common root causes are loose hinge bolts, worn rollers, or a track that’s drifted out of alignment. In Miami Beach, the constant humidity cycles cause wood frames to expand and contract, which gradually loosens track brackets over time. Tightening the bolts is a DIY fix. If the track itself is bent or the door panel is sagging, that’s a larger repair. A shaking door is also a warning sign: it’s adding stress to the springs and cables every cycle, which shortens their lifespan.
The remote works from close range but not from the driveway
This is almost always a faulty remote or a weak receiver, not an opener failure. Start with the battery. If that doesn’t fix it, reprogram the remote to the opener. If it still only works from a few feet away, the opener’s receiver antenna may be damaged or the logic board’s receiver circuit is failing. We see this routinely in dense Miami Beach neighborhoods where wireless interference from other remotes and Wi-Fi networks degrades range. A new remote with a fresh signal frequency often solves it without touching the opener.
Why Miami Beach Climate Accelerates Certain Failures
Miami Beach’s environment is harder on garage doors than almost anywhere else in the country. The combination of salt air, humidity, and tropical storm power surges works through a door system’s weak points faster than dry inland climates do. If you live within a few blocks of the ocean, from South Beach up to Surfside, you’ll see these failure patterns more frequently than homeowners in mainland Miami neighborhoods:
- Spring corrosion: Salt air penetrates the spring’s metal over years, creating micro-pits that eventually cause a fatigue break. Springs in beachfront Miami Beach properties typically fail 20-30% sooner than the national average lifespan.
- Roller bearing seizure: Humidity plus salt equals rust, and the tiny ball bearings inside garage door rollers are the most vulnerable component. Once a bearing seizes, the roller grinds against the track instead of rolling, and that grinding noise is your call to act before the track itself gets damaged.
- Sensor misalignment: Wooden door frames and jamb components absorb humidity and swell. When the frame shifts by even a quarter inch, the sensor eyes mounted on the tracks drift out of alignment, triggering the ghost reversing problem.
- Logic board damage from power surges: Miami Beach gets frequent lightning storms. A nearby strike can send a surge through the opener’s circuit, frying the logic board even when the power doesn’t go out entirely. If your opener stops working right after a storm, this is the likely root cause.
- Hinge and bolt corrosion: The bolts that hold hinges to the door panels are exposed to the same salty air. They corrode, loosen, and eventually snap. A snapped hinge bolt is a dangerous failure because the panel can shift suddenly while the door is in motion.
None of this means your garage door is doomed. It means the maintenance schedule in Miami Beach is different. We recommend homeowners near the water inspect their springs, cables, and rollers twice a year, not once, and replace steel rollers with nylon rollers that resist corrosion better. The Bayside Garage Door Repair home page has more on our maintenance approach.
How to Describe the Problem to a Technician So You Get an Accurate Quote
The quality of the quote you get over the phone depends on how well you describe the problem. Technicians don’t need you to know the technical term; they need accurate observations. For How to Hire a Garage Door Contractor in Miami Beach: A Step-by-Step Guide, here’s the script we recommend using when you call for service:
- State the symptom in plain language, with the door’s current position. For example: “The door won’t close. It goes down about a foot, then reverses back up. This started this morning.”
- Describe the sound, if there is one. “The motor hums but the door doesn’t move” or “it grinds like metal on metal, especially near the top” or “it works silently.” Sound is diagnostic.
- Mention the error code, if you have one. “The opener is a LiftMaster and the lights flash twice, then pause.” That code narrows the diagnosis instantly.
- Share what you’ve already tried. “I checked the outlet and the GFCI reset. I realigned the sensors and they’re both lit. I put a new battery in the remote.” This prevents the technician from charging you to redo those steps.
- Describe the door’s brand and approximate age if you know it. “It’s a Wayne Dalton door, maybe 12 years old.” This helps the technician anticipate parts compatibility before arriving.
This five-point description lets a competent technician like the ones at Bayside Garage Door Repair tell you over the phone whether the repair is likely a simple sensor realignment or a more involved spring replacement, and give you an honest price range before anyone makes the trip. It also signals that you’ve done the basic diagnostics, which discourages the kind of vague quote that balloons once the technician is on site. Diagnose first, replace only if necessary.
What’s Safe to Fix Yourself and What Isn’t
Knowing the boundary between DIY and professional territory is the difference between saving $30 and spending $800 on additional damage, or worse. Here’s the clear line:
Safe DIY fixes:
- Sensor realignment: Loosen the bracket wing nut, adjust the sensor eye so both lights are solid, retighten. This is fully safe and takes five minutes.
- Remote reprogramming and battery replacement: If your remote works intermittently or has short range, a new battery or a reprogram with the learn button is a homeowner task.
- Track bolt tightening: If the track is loose and the door shakes, tightening the lag bolts that hold the track bracket to the frame is safe and effective.
- Lubricating rollers and hinges: Use a silicone-based or lithium-based lubricant on rollers and hinges. Do not use WD-40, which attracts dirt and salt. In Miami Beach, we recommend this every three to four months.
- Clearing obstructions: Anything blocking the photo-eye path or the bottom of the door is a simple removal, not a repair.
Professional-only work (do not attempt):
- Torsion spring replacement: These springs are under hundreds of pounds of tension. A failed release can kill or maim. This is not hyperbole. No DIY guide that tells you how to replace a torsion spring is giving you safe advice.
- Extension spring replacement: Same danger, different mechanism. The springs on older Wayne Dalton and Raynor doors can snap their safety cables and release the stored energy unpredictably.
- Cable replacement or repair: Cables work with the springs to carry the door’s weight. If a cable is frayed or off the drum, the door’s counterbalance is compromised and the remaining spring is holding uneven load.
- Track bending or replacement: A bent track isn’t just a visual issue. It’s a load-bearing component, and a track that lets go mid-cycle can send the door off its path.
- Logic board replacement on openers: This is electrical work on a motor that can be damaged by incorrect wiring. It’s not household voltage, but it’s complex enough to risk burning out a perfectly good opener.
In Miami Beach, the rule is simple: if the part stores tension or carries the door’s weight, it’s a technician’s job. If it’s an alignment, a battery, a bolt, or a cleaning task, you can handle it. And if you’re not sure, call us. The phone call is free, and the advice is honest, even if the answer is “you can fix this one yourself.”
Common Mistakes to Avoid
- Replacing the sensors when the limit switch is the problem. This is the most common misdiagnosis we correct in Miami Beach. If both sensor lights are solid and the door still reverses, the sensors are fine. The limit setting is the likely culprit, and it’s a reprogram, not a replacement.
- Lubricating a broken spring. A spring with a visible 2-inch gap or a “slipped” look is broken. Lubricating it does nothing. In fact, a broken spring is a replacement job, not a maintenance job, and lubricating it just delays the inevitable while the door operates unsafely.
- Using WD-40 on rollers and hinges. WD-40 is a solvent, not a lubricant. In Miami Beach’s salt air, the residue left behind attracts grit and accelerates wear. Use a silicone or lithium lubricant instead.
- Continuing to operate the door after hearing a loud bang. When a spring breaks, the sound is unmistakable: like a gunshot from inside the garage. If you keep running the opener after that, you’ll strip the drive gear and add a $200 opener repair to the spring replacement.
- Ignoring grinding sounds for months. That grinding is a seized roller or a dry drive rail. It’s not just noisy; it’s wearing down the track, the hinges, and the opener. A $15 roller replacement is a lot cheaper than a track replacement or opener motor failure.
- Pulling the emergency release while the door is open. On a door with a broken spring, pulling the emergency release while the door is up allows the full weight of the door to crash down without counterbalance. This has caused serious injuries.
- Replacing an opener when the door is the problem. If the door is heavy or won’t stay up when you pull the release, the opener isn’t the issue. Don’t let a technician tell you otherwise without them performing the same hand-lift test while you watch.
When to Call a Professional
Call a professional immediately if you have a broken spring, a frayed cable, a door off its tracks, or an opener failure you’ve traced to the logic board. These are the failures where a wrong move makes the problem worse or puts you at risk of injury. Also call if you’ve completed the diagnostic steps above and the problem is still unclear. Bayside Garage Door Repair offers free estimates in Miami Beach, and we work with the brand you already have, whether it’s a Wayne Dalton door, a Craftsman opener, or a Clopay or Amarr system. Call (855) 674-1679 and describe the problem using the five-point script above. You’ll get an honest range before we arrive, and the final price is always quoted and agreed before any work starts.
Frequently Asked Questions
The most common reason a garage door won’t close in Miami Beach is sensor misalignment caused by humidity swelling the wood frame, which shifts the sensor eyes out of alignment. The second most common is a limit switch that needs reprogramming after a power surge from a storm. Check the sensor lights first: if both are solid, the sensors are fine and the limit setting is the likely problem. If the sensors are blinking, realign them and try again. Call (855) 674-1679 for guidance if the problem persists.
You’ll know your spring is broken if you hear a loud bang from inside the garage, like a gunshot or a heavy metal snap, and then the door won’t open by hand or with the opener. Look at the torsion spring above the door: a visible 2-inch gap means the spring has snapped. Do not try to lift or operate the door after a spring break, as this can damage the opener and put you at risk of injury. Spring replacement is professional-only work.
The blinking lights on a LiftMaster opener are diagnostic codes. One blink, then one blink (1-1) means the opener isn’t receiving a signal from the remote or wall button. One blink, then five blinks (1-5) means the safety sensors are misaligned or obstructed. Two blinks, then one blink (2-1) means the travel limits need to be reprogrammed. Count the blinks and note the pattern before calling for service.
Garage door repair costs in Miami Beach vary by the specific failure. Sensor realignment is usually under $100. A roller replacement typically runs $120 to $180. A spring replacement, depending on the door size and spring type, commonly ranges from $250 to $450 installed. Opener repairs vary widely based on whether it’s a gear, a logic board, or a full opener replacement. We quote the exact price and agree on it before any work starts, and estimates are free. Call (855) 674-1679 with your symptom description for a concrete number.
No. Torsion springs and extension springs are under hundreds of pounds of stored tension, and a spring that releases while you’re working on it can cause fatal injury. This is not a repair any homeowner should attempt, regardless of what online videos show. Cables are equally dangerous because they carry the door’s weight in tandem with the springs. Call a trained technician for spring or cable work. The cost of professional replacement is far less than the risk of doing it yourself.
If the wall button works but the remote doesn’t, the opener’s motor, logic board, and safety system are all functioning. The problem is isolated to the remote itself or the opener’s receiver. Start by replacing the remote battery. If that doesn’t work, clear the opener’s memory and reprogram the remote using the learn button. In Miami Beach, we also see wireless interference from dense Wi-Fi networks degrade remote range, so a fresh remote with a different frequency often resolves the issue. If it still fails, the receiver on the logic board needs replacement, which is a repairable opener issue, not a reason to replace the whole unit.
The Bottom Line
Garage door troubleshooting is a system-based skill, not a symptom-based guessing game. The door and the opener are separate machines, and nine times out of ten, the problem lives entirely in one or the other. Learn the symptom-to-system map, count the error code blinks, check the sensors before replacing them, and never touch springs or cables yourself. In Miami Beach, the salt air and humidity mean faster wear on springs, rollers, and bolts, but also mean that routine inspection catches most problems before they become breakdowns. Diagnose first, replace only if necessary, and when the repair is beyond you, call (855) 674-1679 for a free estimate. We’ll work with the brand you already have, from the opener motor to the panel itself.
Written by the team at Bayside Garage Door Repair, serving Miami Beach since 2014. For more guides & resources, visit our blog.
See the difference
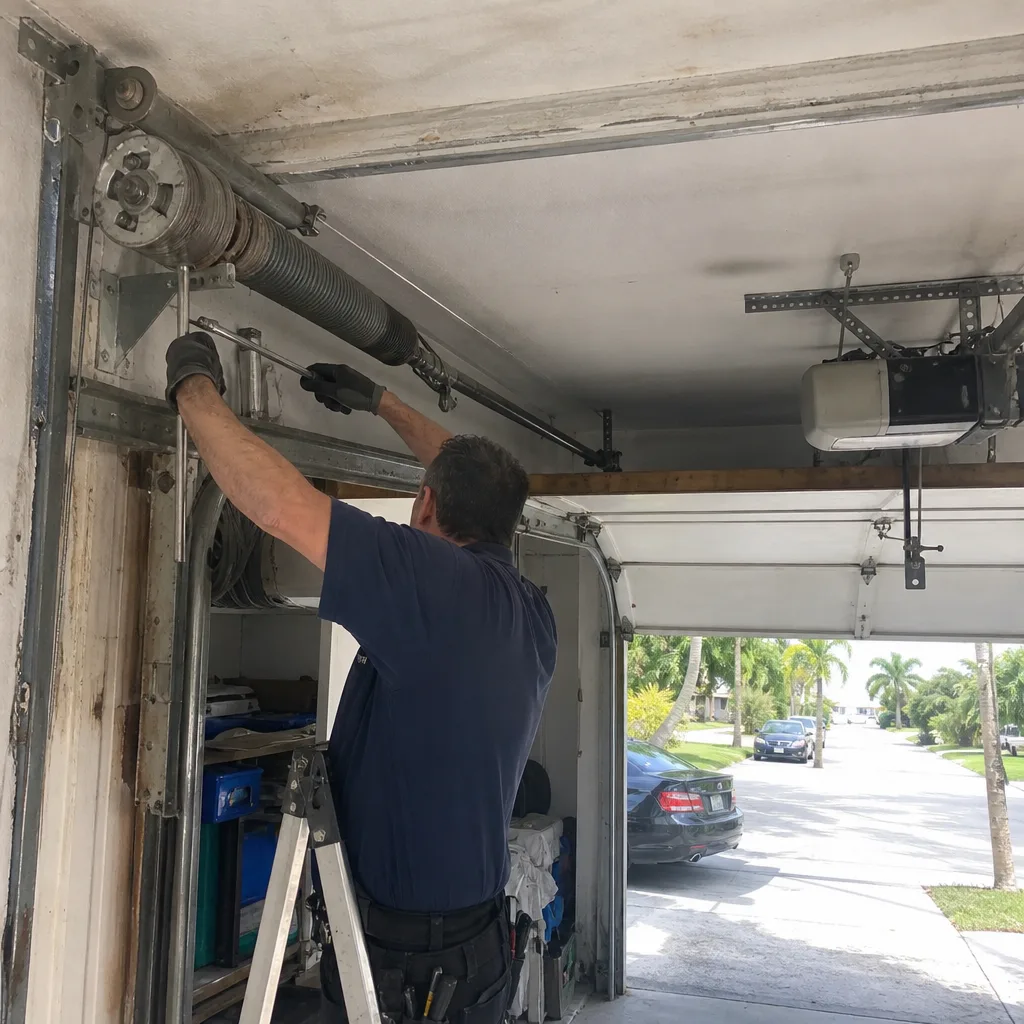 Before
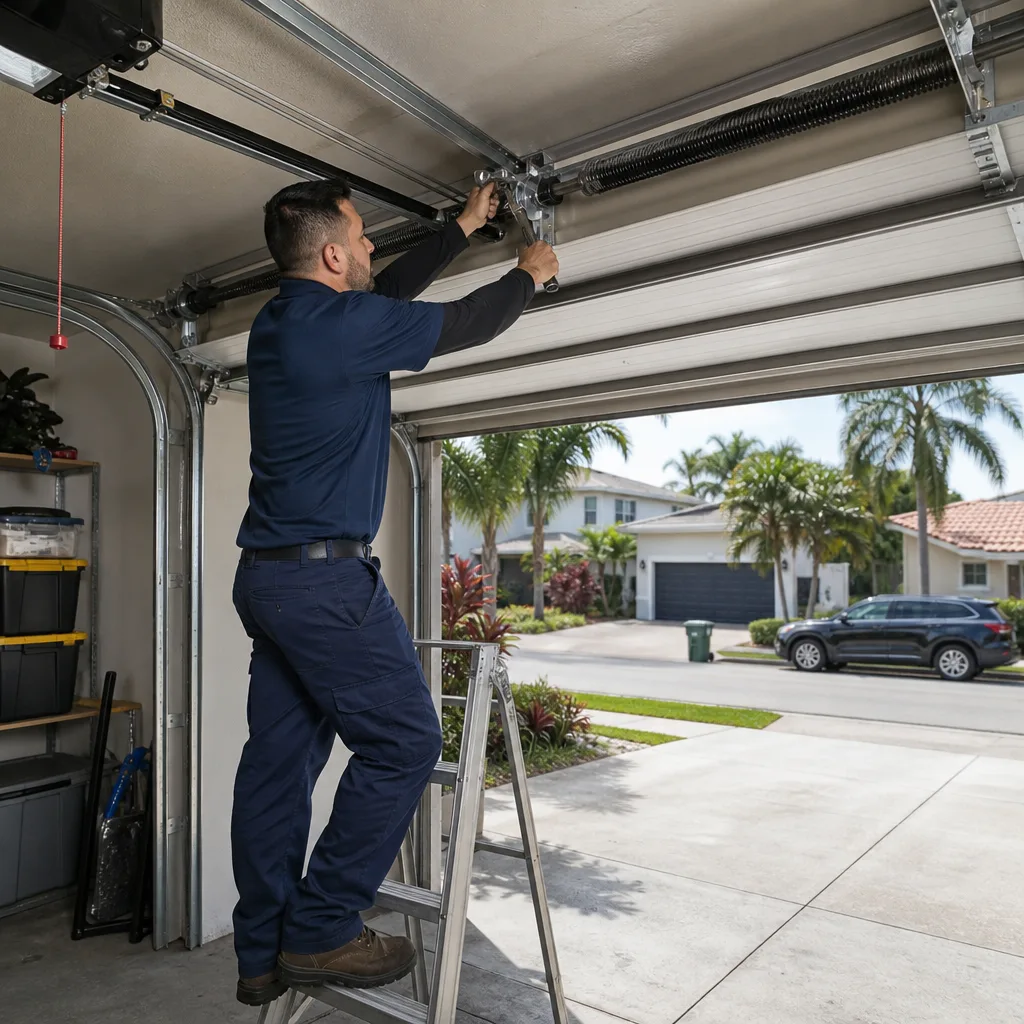 After
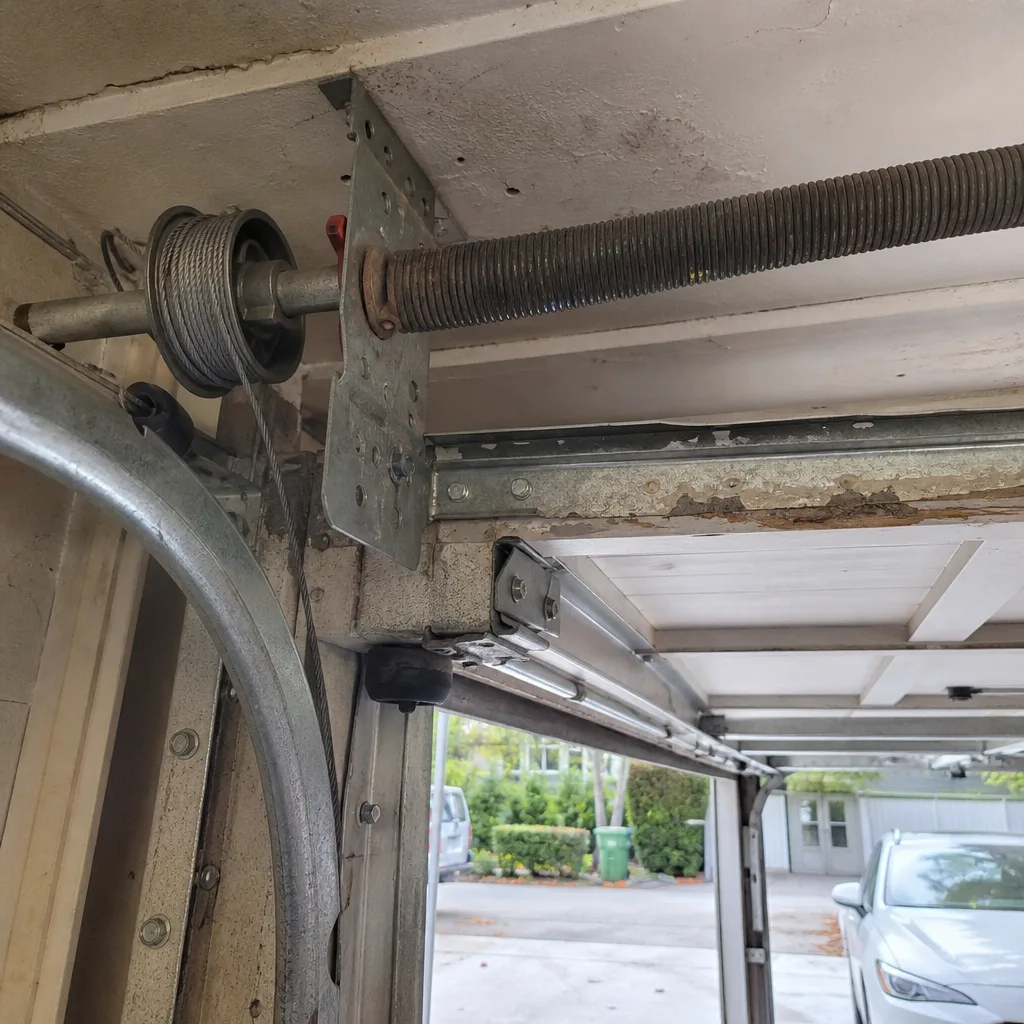 Before
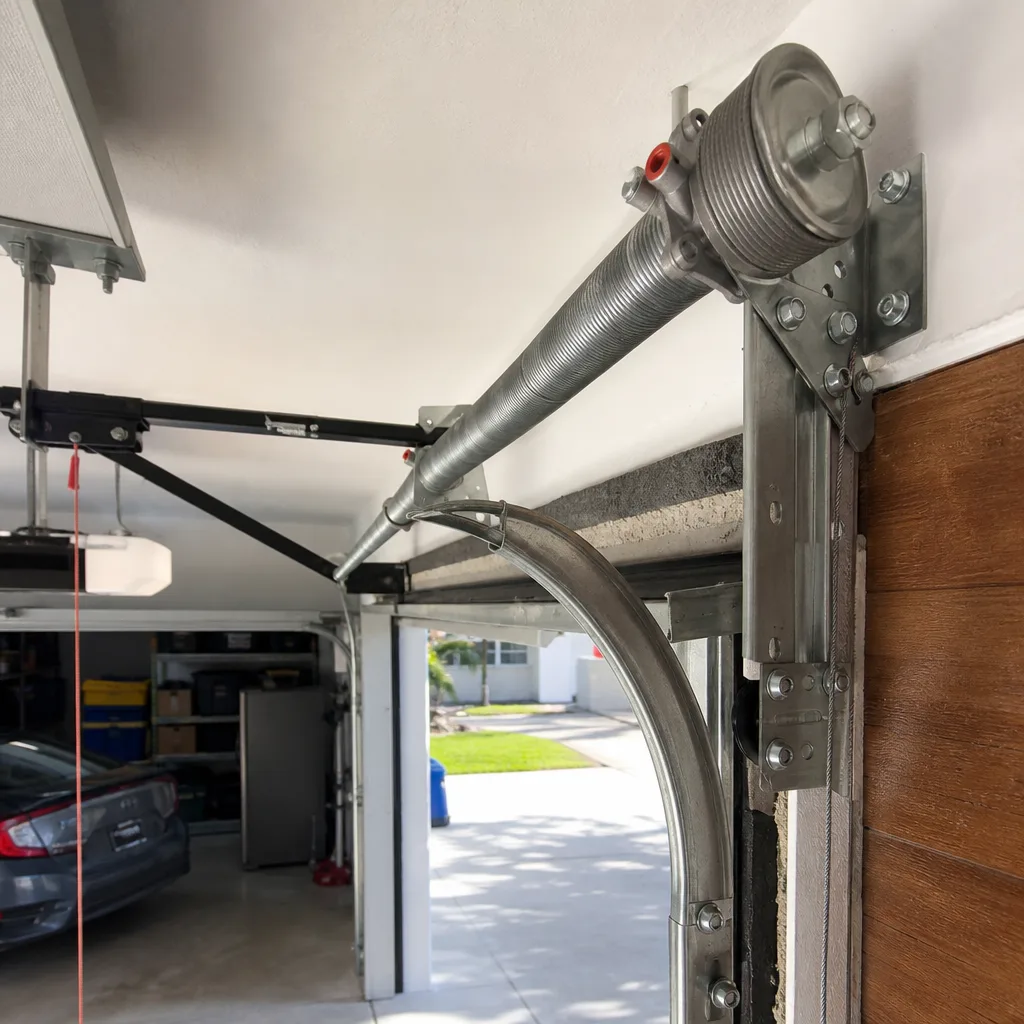 After
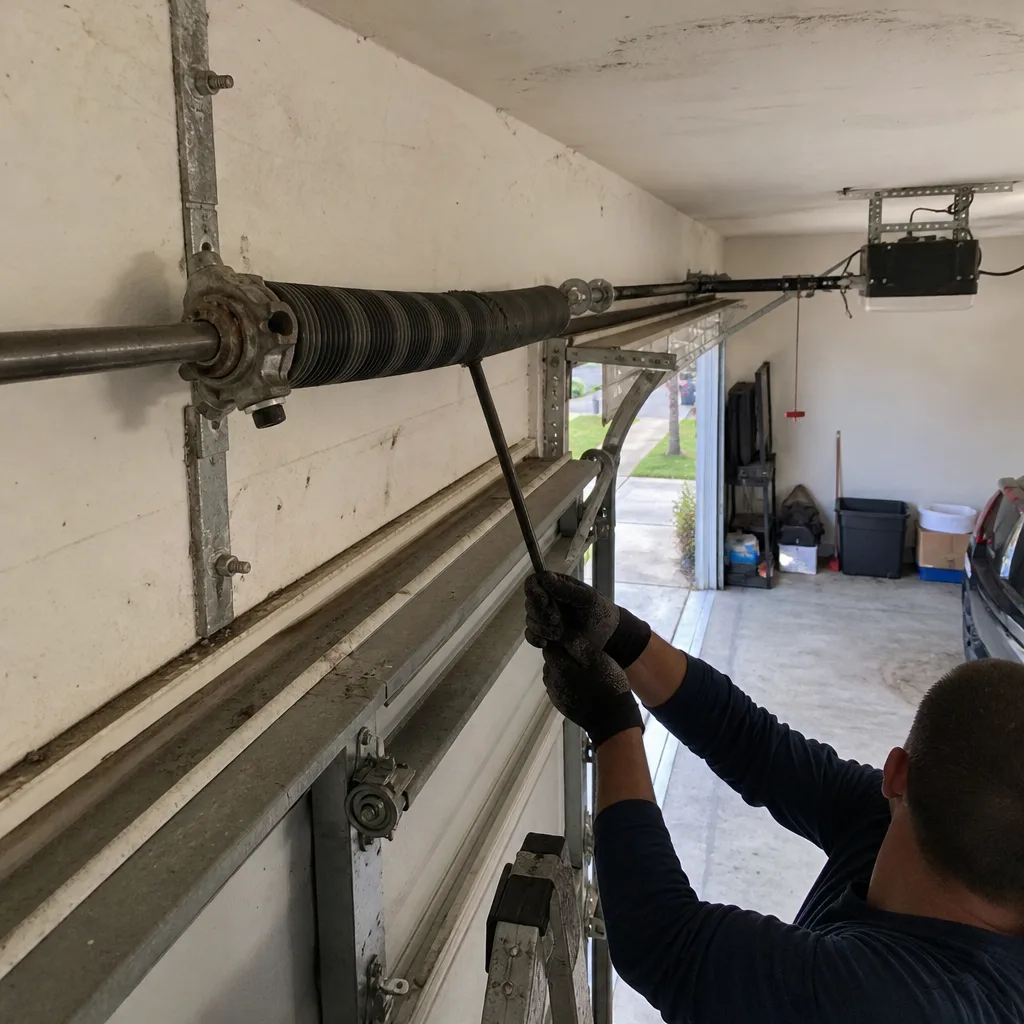 Before
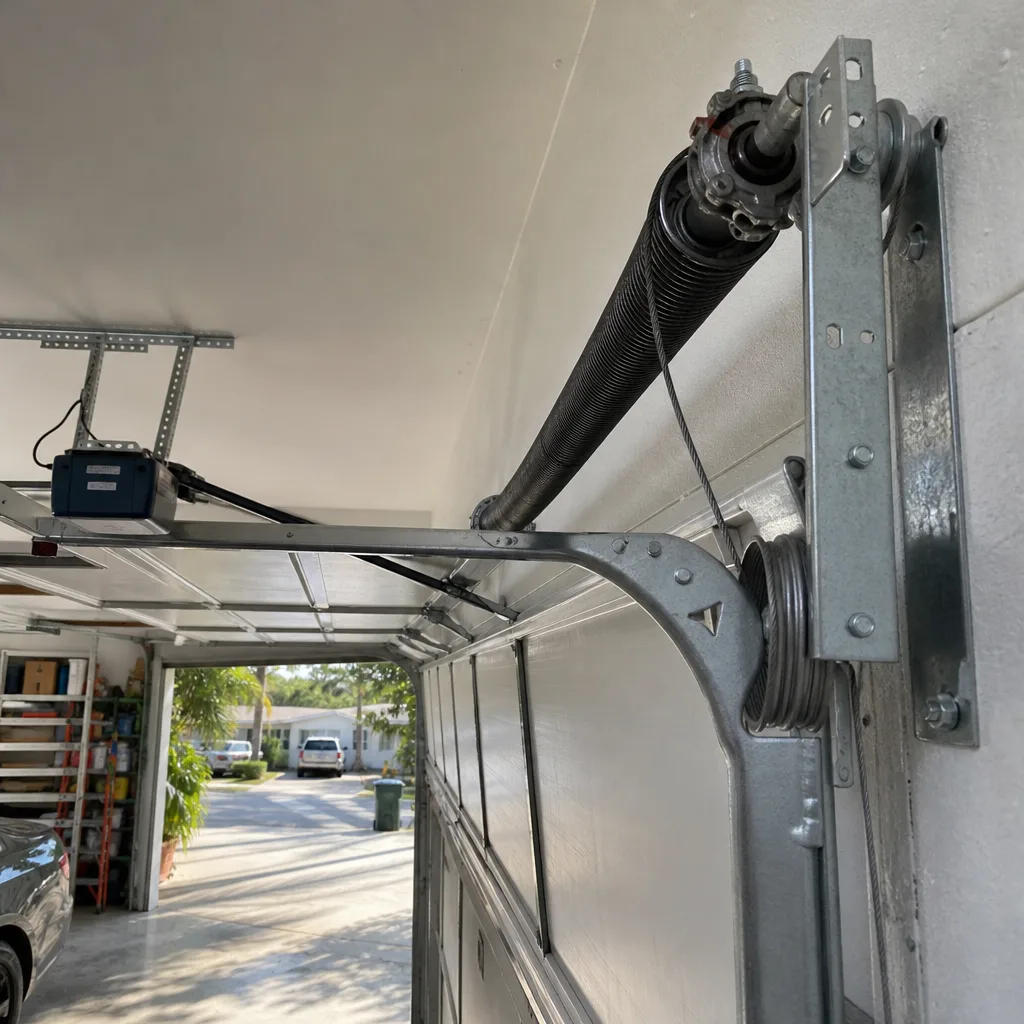 After